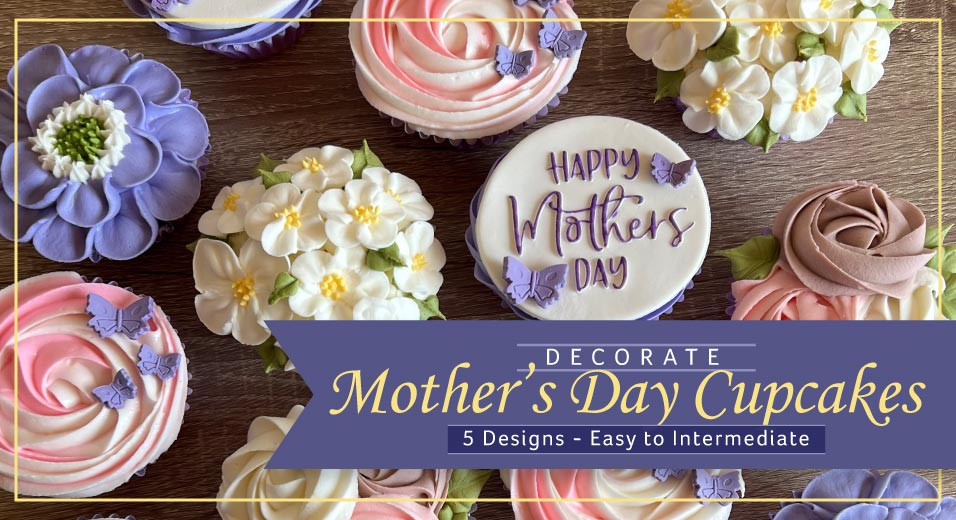
Decorate Mother's Day Cupcakes - 5 Designs from Easy to Intermediate
Posted by Jayden Scott on 20th Apr 2023
Mother's Day is almost here, and what better way to celebrate than by making Mom some beautiful and delicious cupcakes? You can start with your favorite go to cupcake mix or a box mix or try one of our favourite recipes Carrot Cake and Dutch Chocolate Cake.
In this blog post, we'll show you how to decorate cupcakes with 5 different (but complimentary designs) for Mother's Day, with tutorials ranging from beginner to intermediate. So let's get started and make this Mother's Day extra special for your mom! We have chosen colours that go together so that you can make a collection of cupcakes that will make a cohesive design but feel free to incorporate your Mom's favourite colours!
Double Petal Floral Cupcake
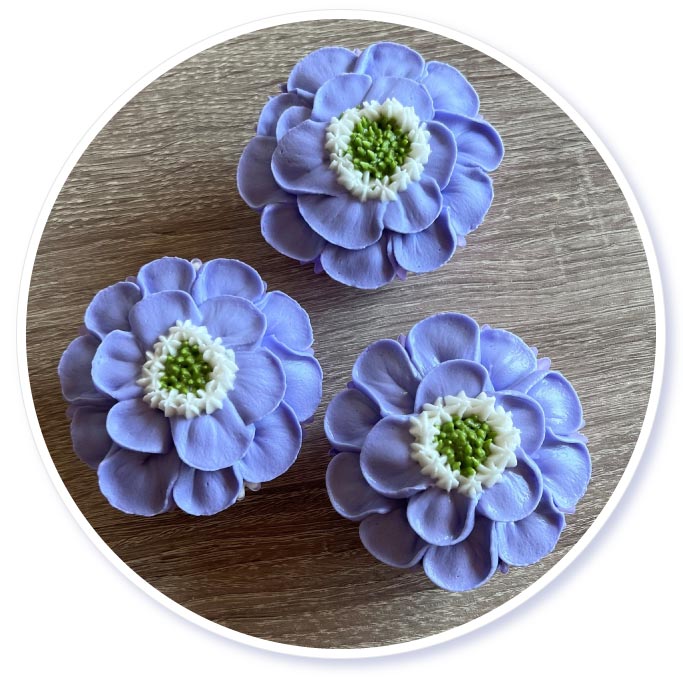
This striking cupcake features a double row of purple petals with delicately detailed white and green center.
Supplies:
Colours:
Steps:
- divide your buttercream Icing in to 3 portions (1 big and 2 little). Colour. Add your colour a few drops at time and then mix ( the colour will darken as it sits) the largest amount purple and 2 smaller amounts green and bright white.
- With a piping bag filled with regal purple (or the colour of your choice) and tipped with the #124 petal tip start at the edge of the cupcake. Squeeze and draw toward the center and lift. Repeat around the outer edge of the cupcake. Don't worry about making the petals exactly identical - a bit of variation gives a much more realistic effect.
- Pipe the inner circle of petals with same squeeze and pull towards the center motion leaving room so you can the add the stamens and center details.
- Switch to a piping bag filled with moss green and using piping tip # 133/233 position the tip in the center squeeze slightly and pull up repeat till you fill a circular area about the size of a quarter.
- Switch to a piping bag filled with white and using an open star tip pipe stars around the green center of the flower.
Easy Two Coloured Rosette Cupcake with Butterflies
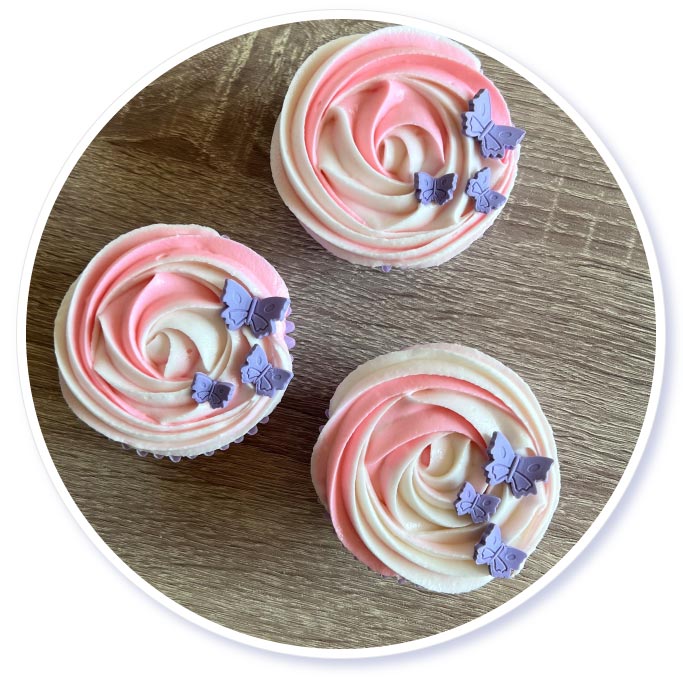
Using two separte colours in the piping bag that mix to form a varigated flower make this super easy cupcake design a show stopper.
Supplies:
Colours:
Steps:
- Colour some gumpaste with regal purple (probably 2 to 3 drops but colour to your liking). Knead the gumpaste till the colour is distributed. Then roll out to 1/4 depth and use the butterfly plunger cutters to cut out the your mini butterflies. Tip: If you want the butterlies to have raised wings then make a trench in tin foil and position the butterlies in the trench so the tin foil holds up the wings while they dry.
- Divide your buttercream icing into 2 portions and colour one with Deep Pink and the other Bright White. Lay out some saran wrap and spoon a think log of each colour on the saran wrap and then roll itup. Cut the end of the rolled up saran wrap slightly above where the icing starts and put that in a piping back with a 1m Open Star Tip. Squeeze out a few swirls to make sure you are getting both colours to test. For more info on using mulitple colours of icing in a piping back visit our How to Pipe a Rainbow Cupcake blog post.
- Start in the center of the cupcake squeeze out some icing and with a constant pressure make a large rosette that covers the entire surface of the cupcake.As you get to the end of the rosette stop squeezing and give the piping back a little flick to break the icing and finish off the rosette.
- Finish the decoration with your gumpaste butterflies!
Easy Bouquet of Roses Cupcakes
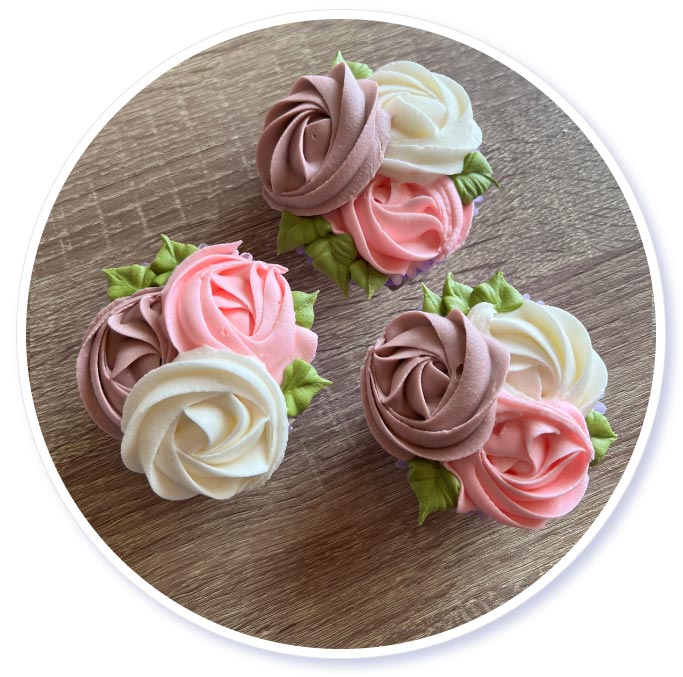
This easy design gives the impression of a bouquet of roses and is a great for beginner decorators.
Supplies:
Colours:
Steps:
- If you are going to make up a dozen of these you will need about 3 cups of icing. Mix up buttercream icing and divide into 4 containers. Colour one fuschia, one deep pink, one bright white and make a smaller amount moss green.
- With a piping bag filled with your first colour and tipped with the #1M Open Star Tip start at the center of where you want to place the first rosette and pipe in a circle keeping a constent flow till the end when you stop squeezing give a bit of a flick to finish the rosette. You want the each rosette to cover approximately a 1/3 of the top of the cupcake. Repeat for the remaining cupcakes.
- Pipe 2nd rosette with your second colour make sure to overlap the first cupcake slightly. Repeat for the remaining cupcakes.
- Piper 3rd rosette centered in the remaining space but overlap the other rosettes slightly.
- With a piping bag containing moss green and tipped with the leaf tip draw out out your leaves using a slight up and down motion to give the leaves a bit of texture. You will use more pressure at the base of the leaf and less towards the tip. Use the leaves to fill any empty spaces between the rosettes.
Cupcakes with Happy Mother's Day Greeting
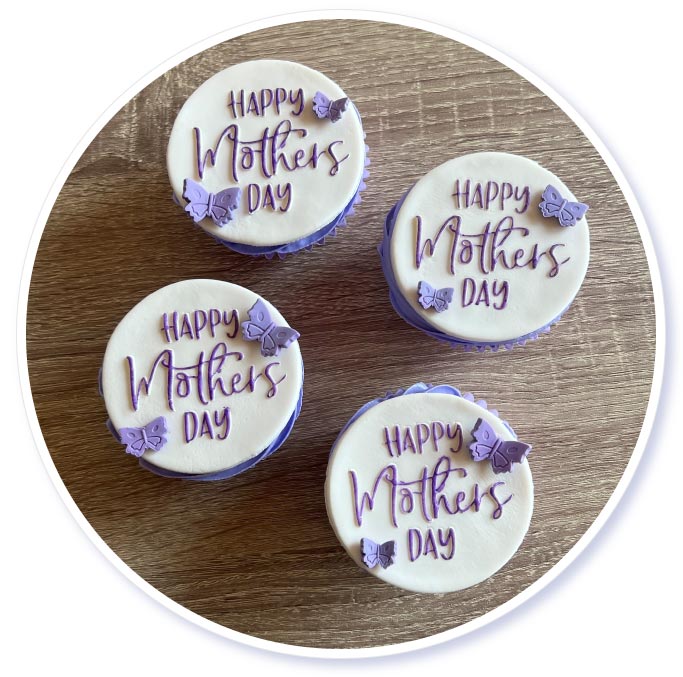
These elegant cupcakes use an outboss stamp to add a Happy Mother's Day message and are surprisingly easy to put together.
Supplies:
- Buttercream Icing Recipe
- Tip # 857 commercial closed star
- Outboss Mother's Day Stencil (Trendy Font) (shown) or
Outboss Happy Mothers Day (Elegant Script Font) Stencil - Round Cookie Cutter (3")
- Gumpaste
- Purple Edible Marker
- Mini-butterfly Plungers
- Regal Purple Food Colour
Steps:
- Roll out gumpaste to 1/4" thick. Tip: Dust your work surface with a little bit of icing sugar to prevent the gumpaste sticking to it.
- Dust top of gumpaste with a little icing sugar and dust the outboss stencil as well and then stamp your message onto the gumpaste.
- Use the circle cookie to cut out the circle shape around the wording, then transfer the gumpaste cirlce to a parchment paper covered cookie sheet and leave to dry for at least an hour.
- Colour some gumpaste with regal purple (probably 2 to 3 drops but colour to your liking). Knead the gumpaste till the colour is distributed. Then roll out to 1/4 depth and use the butterfly plunger cutters to cut out the your mini butterflies. Tip: If you want the butterlies to have raised wings then make a trench in tin foil and position the butterlies in the trench so the tin foil holds up the wings while they dry.
- Pipe a large buttercream rosette in the center of your cupcake (this is the glue that holds the gumpaste topper on) and place cutout gumpaste circle on top.
- Glue the butterlies on with a tiny bit of buttercream or if you want your butterflies to stick with no visible icing consider using edible glue.
Floral Bouquet Cupcakes with Tiny Flowers
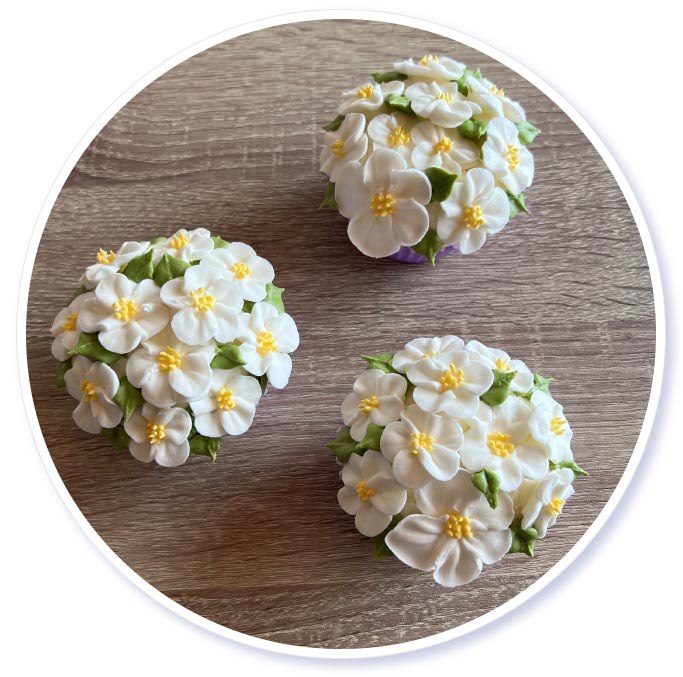
This cupcake tutorial is a bit more advanced but totally worth the effort to get this glorious bouquet of blossoms.
Supplies:
- Buttercream Icing Recipe
- Tip #101 (Petal Tip)
- Tip #807 (Commercial Round Tip)
- Tip #349 (Leaf Tip)
- Flower Nail
Colours:
Steps:
Make the Flowers:
You have 2 options for the flowers - you can either make them out of buttercream and then put them in the freezer to harden so you can handle them or you can make the flowers out of royal icing and let them dry for an hour before placing them on the cupcake. Otherwise the process is the same reguardless of the icing type you use.
- Start by adding a square of parchment or wax paper to your flower nail with a little bit of icing.
- Then with a piping bag filled with bright white icing and using the petal tip #101 pipe the petals. To pipe a petal make sure you are holding the piping bag so the smallest end of the tip faces down then start in the center of the flower nail and start squeezing out a bit of icing so it sticks to the center. Then continue pressue while slowly dragging the tip in a small cricle returning to the center of the nail and pul up and stop squeezing to complete the petal. Start the next petal in the center and slightly overlap the previous petal and the repeat for the remaining petals.
- With a piping bag filled with Electric Yellow and tipped with a commercial round tip make the stamens by squeezing out a bit of icing and pulling up. Make a cluster in the center of the flower.
- Lift the parchment paper off the flower nail and either put aside to dry or, for buttercream, put in the freezer to harden.
Decorating the Cupcake:
- Using white buttercream icing make a mount of icing on the top of the cupcake (we need something to stick the flowers into).
- Then take your hardened flowers and place them into the icing all over the cupcake.
- With a piping bag filled with moss green icing and the #349 leaf tip pipe leaves in any gaps between the flowers. To pipe a leaf, the motion it to squeeze, decrease pressure slightly and pull up to go from the broad base of the leaf to the pointy tip.


