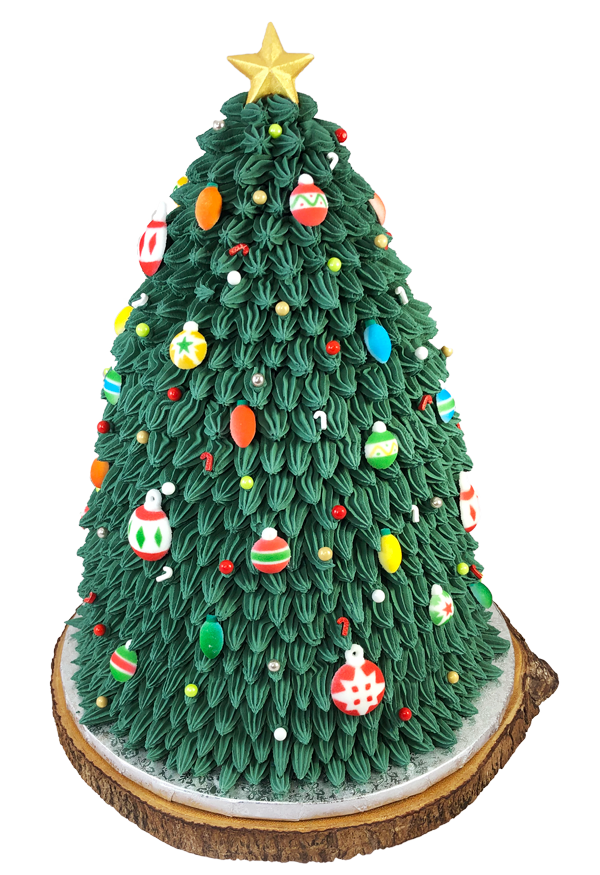
Christmas Tree Cake Tutorial
Posted by Delanie Peterson & Jayden Sepe on 19th Dec 2019

Products Used
- Wondermold cake pan
- Pan round 9’’ x 3’’
- Americolor Forest green food coloring
- Open Star Tip #22
- 18’’ Disposable piping bags
- Candy cane sprinkles
- Red green & gold candy beads
- Pressed sugar light blubs
- Pressed sugar lg ornaments
- Pressed sugar sm ornaments
- Star chocolate mold
- Small amount of white chocolate
- Honey gold edible art paint (for painting the chocolate star)
- Buttercream icing (3.5 lbs X 2)
- Offset spatula
How to Bake and Decorate the Christmas Tree Cake :
- Bake wondermold cake & 9’’ round 3’’ high, and let completely cool.
- Stack your wondermold cake on top of your 8’’ round cake by adding some icing for them to stick together and carve down the 9’’ round to get the perfect tapered tree shape.
- Color all your buttercream forest green (or whatever shade of green you are wanting your tree to be)
- Start by adding a thin layer of icing to cover the whole cake.
- With Open Star tip # 22 in your piping bag and your forest green icing start piping your greenery by squeezing and pulling away from the cake downwards and slowly let off squeezing
- Continue this all the way up to the very top in layers
- Once completely done, add your decorations on to the tree with your chocolate gold star at the top !
How to Mold, Paint & Attach Chocolate Gold Star
- Melt your tempered chocolate using an electric frying pan set on low - the temperature only needs to be body heat to melt.
- spoon a small amount of the melted chocolate into the mold to fill cavity, tap down on the counter to get rid of any air bubbles in the chocolate.
- Place in fridge for 5-7 min to let the chocolate set up, and pop out of the mold
- Let the molded chocolate come back to room temp and then paint with edible art paint


