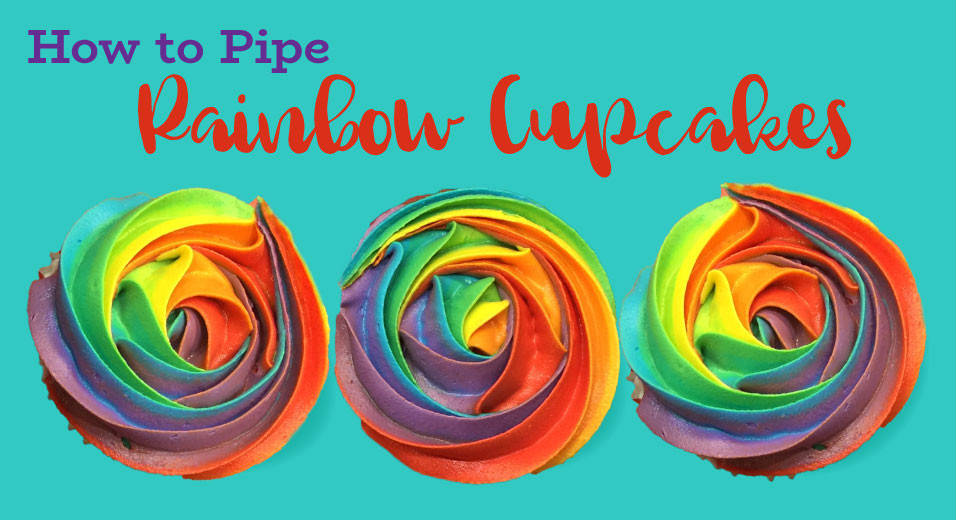
How Do You Get a Rainbow of Colours into a Piping Bag?
Posted by Jayden Scott on 26th Feb 2020
In this post we thought we go back to a cupcake decorating basic. So many cool effects start with having multiple colours loaded into your piping bag. This tutorial will show you how easy it is to load up your piping bag without making a mess and muddying up your colours.
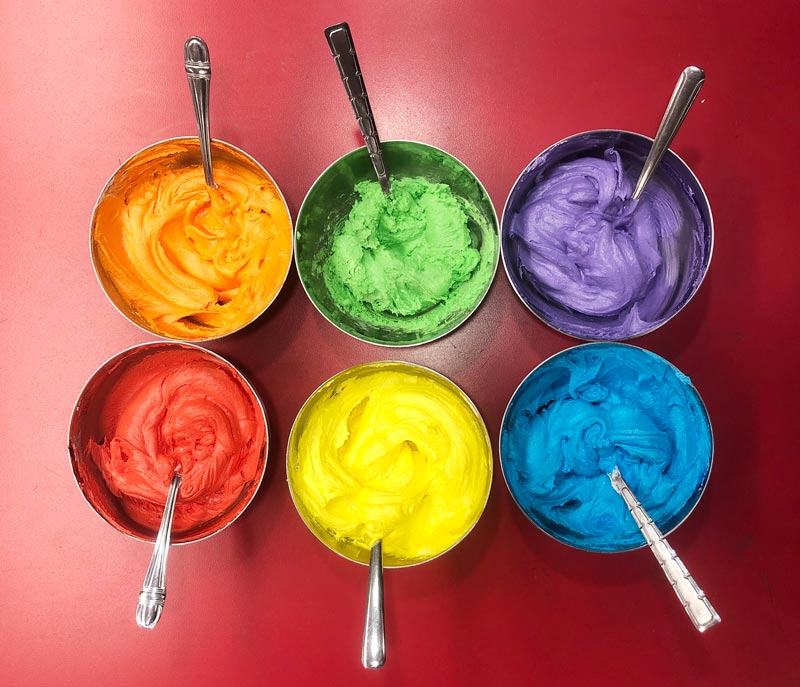
Step 1: Mix Your Coloured Icing
First, mix up your icing and divide into bowls for each colour you want to use and then mix up your colours. Jayden was making some St. Patricks day cupcakes so she did the six colours of the rainbow.
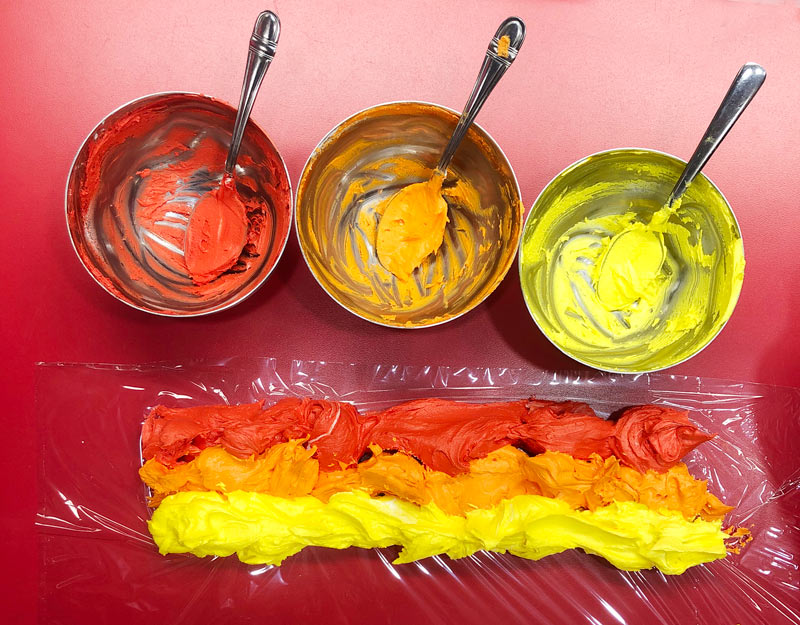
Step 2: Spread the Icing on Saran Wrap
Lay out a piece of saran wrap and line your colors on the saran wrap beside each other. I use a spoon to drop the icing and smooth it a bit - really does not need to be perfect.
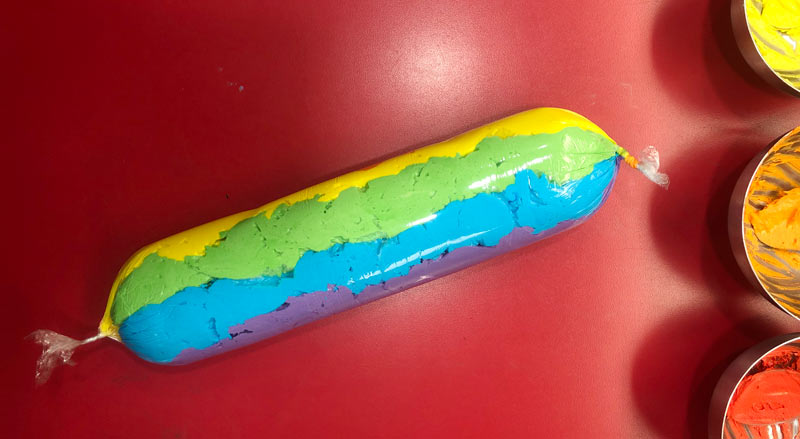
Step 3: Roll Up the Saran Wrap
Once all your colors are lined up beside each other on the saran wrap, you roll up the icing in saran like a log, twisting both ends tight.
Step 4. Cut the End of the Rolled Up Icing
at the end your going to drop in your bag, cut with scissors right where the icing starts
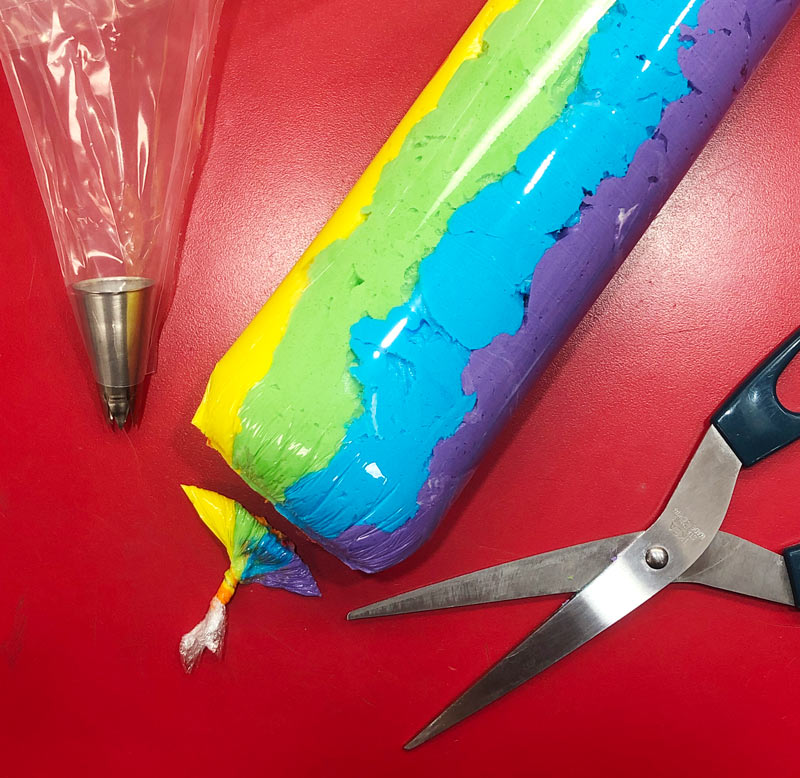
Step 5. Put your Icing "Roll" into your Piping Bag
Drop your rolled up sausage of icing in to your piping bag already has the tip you are going to be using in it.
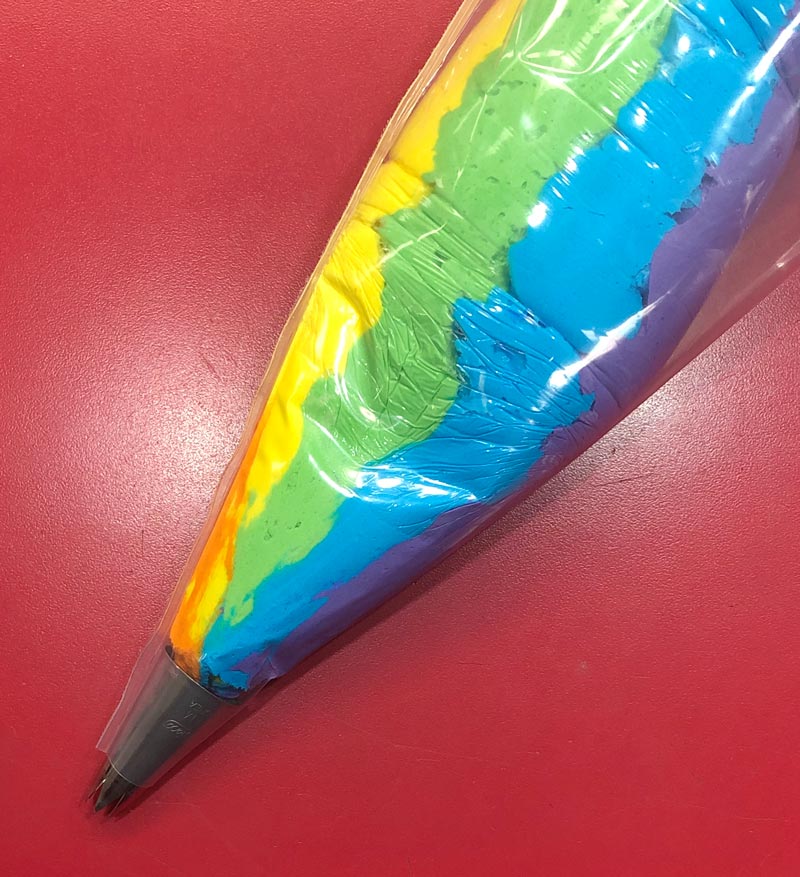
Step 6. Test Pipe a Few Swirls
Test squeeze out the icing till it comes out smoothly.
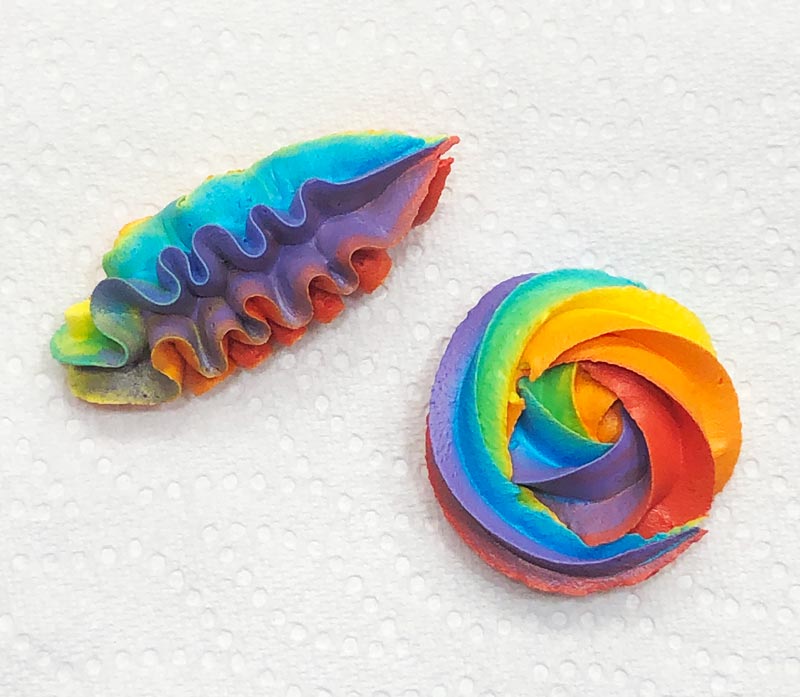
Step 7. Pipe your Cupcakes
In the cupcakes below we used a rosette piping technique. We used a 1M tip and starting in the center we circled our way out to the edge keeping the tip level with the top of the cupcake . Watch our rosette piping video


