Mermaid Geode Sprinkle Cake
Posted by Jayden Sepe / Stacy McKay on 22nd Aug 2019

“Under the sea
Under the sea,
Darling it’s better
Down where it’s wetter
Take it from me.”
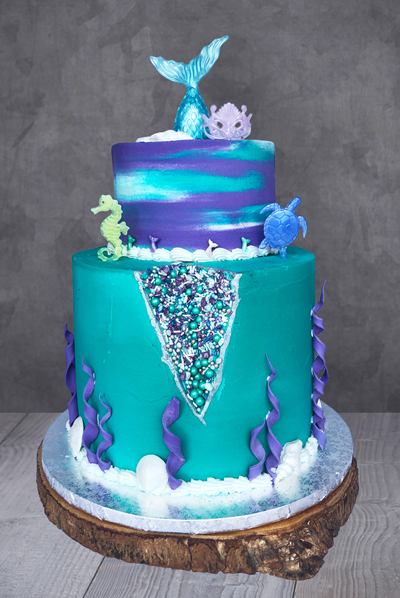
This is a great way to end your summer time fun with a cute mermaid themed cake perfect for any celebration or summer party.
Cake Decorating Products Used:
Top Tier:
- 6” x 2” High Round Cake Pan
- 6” Cake Board
- Dowels for stacking cakes
- Americolor Regal Purple
- Americolor Teal
- Americolor White
- Tip # 20 Open Star Tip
- Mermaid Tail Candy Shape Sprinkles
- Mermaid Tail Cake Topper
Bottom Tier:
- 10” x 2” High Round Cake Pan
- 13” Cake Drum Board
- Americolor Teal
- Mermaid Dreams Sprinkle Mix
- Fondust Royal Purple
- Fat Daddio Gumpaste 1 lb
- Super Pearl Lustre Dust
- Tip # 20 Open Star Tip
- Edible Art Paint Silver
- Seashell Chocolate Mold Assorted
- Wooden Dowels - *optional

How to decorate your cake:
Step 1: Bake 3 – 10” x 2” and 2 – 6” x 2” high cakes and set aside to cool and settle overnight if possible (this allows the cakes to settle).
Taking some gumpaste – knead in a small amount of Royal Purple fondust until you achieve the color that you want. Keep in mind this product will deepen as it sits. Roll out, cut into strips and twist as you wrap it around a dowel. Place on a cookie sheet lined with parchment to dry (this will be at least 12 hours).
Step 2: Make some chocolate shells by melting your chocolate on low heat. You can see how to properly melt chocolate here. Once they have set and come back to room temperature you can then brush them with Super Pearl Lustre Dust to add a beautiful sheen.
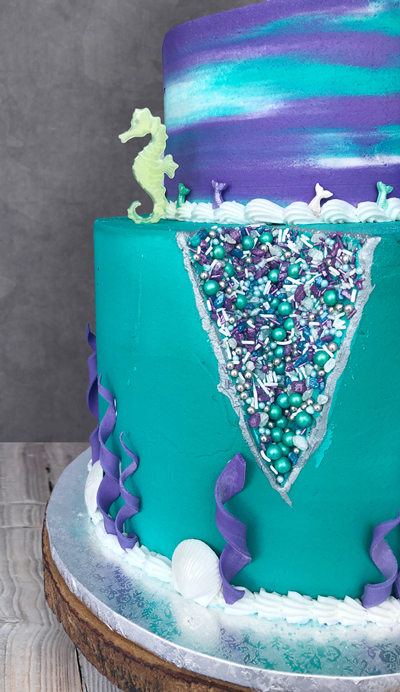
Step 4: Stack and fill your bottom cake so that it is 6” high. Cut out an area on the front of the bottom tier that looks like a crack in the cake. This will be best if tapered from the top to the bottom. Color your crusting buttercream icing teal and then smooth ice your cake, including the crack. Apply the Mermaid Dreams in the crack to fill the area. Pat lightly into place and they will stick into the buttercream icing.
Step 5: Pipe a star border using Tip # 20 around the bottom of the cake. Prepare the bottom cake to be stacked with the top tier. There are plenty of How To videos available on You Tube to see how to stack a cake.
Step 6: Using the Edible Art Silver paint around the “crack” area once the buttercream has crusted. Allow this to dry.
Step 7: Moving onto the top tier – color your crusting buttercream in purple, teal and white. Pipe the colors onto the cake in staggered pattern. When you go to smooth the cake, it will create the marbled effect as it blends the colors together.
Step 8: Place the top tier onto the bottom tier and pipe a star border using the Tip # 20. Add some mermaid tail candies around the bottom border as well.
Step 9: Add the Mermaid Cake Topper to the top of the cake to finish it off.
Now that you have completed this fun Mermaid Dreams cake you can put your fin up, relax and enjoy the party!


