Floral Drip Cake Tutorial with Piped Icing Flowers
Posted by Delainey Peterson & Jayden Sepe on 18th Apr 2022
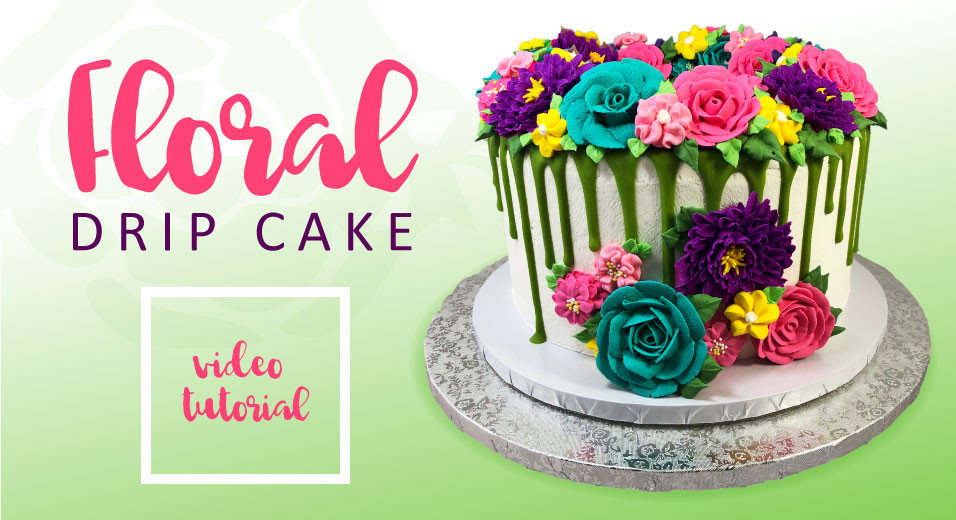
This spectacular drip cake is easier than it looks and is suitable for decorators with some piping experience under their belts.

Cake Decorating Products Used
- Buttercream icing
- Cake drip spring green
- Americolor electric pink
- Americolor electric yellow
- Americolor regal purple
- Americolor soft pink
- Americolor mint green
- Americolor laurel green
- Americolor turquoise
- Small Round Tip #2
- Curved Petal Tip #81
- Petal Tip #102
- Petal Tip #104
- Drop FlowerTip #109
- Drop Flower Tip #135
- Leaf Tip #350
- Leaf Tip #352
Cake Instructions:
- To make a 6' tall cake bake 3 layers each 8in X 2in round lets cool .
- Stack your cakes using buttercream & whatever other filling you prefer.
- Spread icing on the sides of cake as well as the top and using your tall scraper smooth out the edges and top of your cake!
- Now your ready to do the drip on your cake! To apply Roxy & Rich’s Cake Drip, remove the
seal and the lid, and heat for 30 seconds in the microwave.
• Put the lid back on and shake for approximately 1 minute until completely smooth.
• Once the topping is complete, let your creation sit in the fridge at least 1 hour to allow the Chocolate Drip to harden. - Once the chocolate drip has harden, you will use your buttercream icing to place the flowers around the top of the cake, and then fill in the blank spaces by piping in your leaves.
Buttercreme or Royal Icing (2 options)
- You can make them out of royal icing and let them sit to dry and harden, this way is easier to place onto the cake once they are dried. The royal icing dries hard and is easier to work with.
- You can pipe them out of buttercream and freeze them and once you are ready to place them on the cake you will pull them out of the freezer and quickly place them where you want them!
Piping Icing Flowers
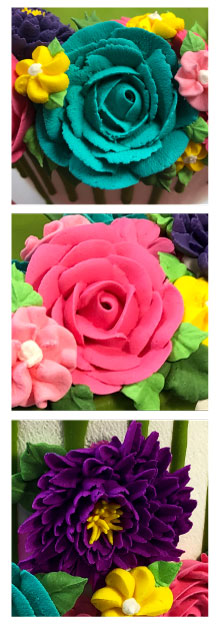
Chrysanthemum Piping Instructions
With Ateco tip #2 create a mound of icing which will be the centre of your flower. On that you will pipe spikes to create the centre stamens of your flower.
Using Ateco Tip #81 start around centre piping each petal upwards, then angling outwards more and more with each layer to create the opening effect.
Rose Piping Instructions
Using Ateco tip #104 start by piping your center "cone", This is what you will pipe your petals around to create your Rose. Maske sure the fat partof the tips is at the bottom with the thinner side up.
Start by piping each petal around your centre cone, holding your tip at approximately a60 degree angle, making each petal overlap slightly. Again fat side of the tip down with the thin side up.
Keep going around piping bigger petals on the outside crating the rose you are wanting. The more of an outwards angle your tip is the more open the rose will be when your are finished.
Ruffle Flower
Using Ateco tip#104 pipe your first layer of the flower by laying your tipflat on the surface with a back and forth motion. Make sure the thicker part of the tip is at the center of the flower.
Pipe your next layer holding your tip at a slight angle with the thicker part of the tip in the centre of the flower.
And repeat with your third layer.


